


The holiday season is upon us and somehow things seem to get busier than they already were. Inevitably, we are slated with the task of bringing a dish to a party or maybe even hosting a small gathering at home – but finding time to make said dish is when things get a little rocky.
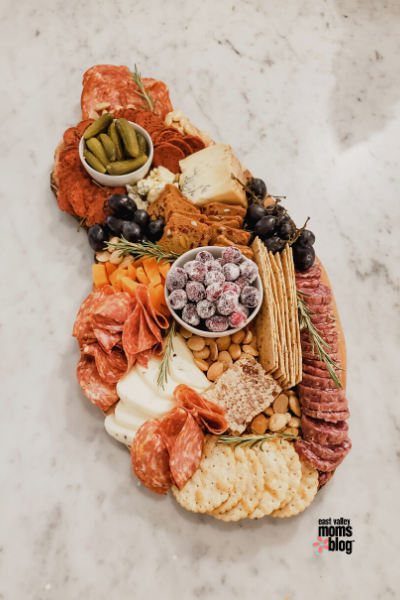
That’s where the cheese board comes into play. It will be your saving grace this season. Cheese boards are the perfect way to bring festive flair into the kitchen and make at home gatherings feel a little more luxurious. So I’m here to give you all the tips you need to put together an epic looking board with minimal effort!
My cheese boards usually take me 5-10 minutes to assemble and another 5 or so to get out ingredients before I start. I like to utilize what’s in my pantry and fridge when I can, to keep my shopping list to a minimum, so keep that in mind when you’re getting ready to make one.
Here’s what you need to know:
Ingredients
Board Size.
Obviously the bigger your board, the more stuff you need to put on it to make it look full. If you’re just starting out making cheese boards, stick with a small to medium size board.
The Cheese.
Start with 2-3 cheeses with a variety of textures, as long as it isn’t a pre-sliced cheese (do NOT do it!). Here’s what I usually like to include:
- A soft cheese: goat cheese is usually a crowd pleaser, but brie is also another go-to
- A semi firm cheese: Gouda, manchego or fontina are my favs
- Something seasonal or flavored – I just grab whatever catches my eye
When you put the cheeses onto the board, make sure to slice, cube or crumble the cheeses unless they are super soft. It can be extremely difficult for guests to maneuver whole chunks of hard cheese.
Meat.
I keep this really simple and stick to 1-2 different types. Sliced salami is usually the first thing I reach for (and you can find it everywhere). Sometimes I’ve found packages with multiple meats in them, which are a great way to add variety and not spend a ton. When you put the meats on the the board fold them or roll them to add a little extra texture. Sometimes the pre-packaged meats can be a little pricey, so try hitting the deli counter and have an exact amount freshly cut.
Crackers.
Anything goes with the crackers here. I like to use about 3 different types on my board and different shapes if I can. I always have an assortment of crackers in my pantry (hello kids) so that usually helps add a little variety. There are boxes of assorted crackers at most grocery stores during the holidays so this is a great place to start. And I like to include a unique one – studded with seeds, nuts, fruits, that sort of thing. Things like parmesan crisps, baguettes, crostini are also great choices too.
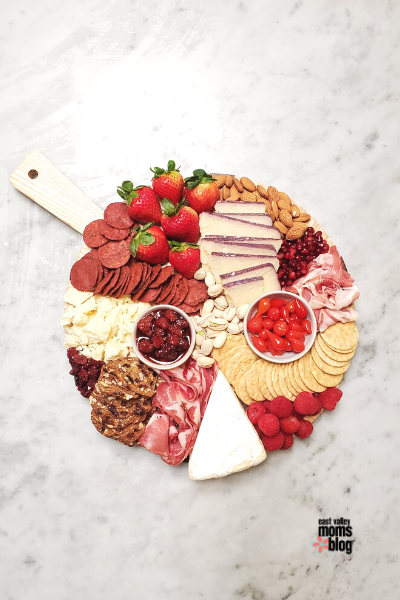
Fruit.
I always include some sort of fruit on my boards to add some color. Grapes are the obvious choice (and I’ve always got some in my fridge) but berries work well too! I love adding seasonal fruit as well – in December you will definitely find a pomegranate or a persimmon on one of your boards.
Spreads.
Include a dish with some jam, fruit butter or honey – don’t over think this, you probably have at least one of these in your house right now. Pour it into a small bowl and put it on the board. You can even go savory too with something like a grainy mustard.
Nuts and dried fruit.
Any kind of nuts will work here, even roasted or flavored ones too (almonds, cashews and pecans are usually my top choices). Have leftover pecans from making a pie? Put them on the board. Have a bag of raisins in your pantry (or even a few mini-snack boxes)? Throw a handful on. If I have them, dried figs and dried apricots are great on cheese boards.
Garnish.
While edible flowers are gorgeous, I usually don’t have time (or the patience) to go hunt some down. I like to use a few sprigs of fresh herbs to garnish. If I have any in my fridge, I use those (thyme and rosemary really look great IMO)

Where to Shop
You can find all these ingredients at basically any store that sells groceries, but some have better selections for cheese and cured meats. My favorite place to get cheese board staples is Trader Joe’s – I can’t walk into one without browsing the cheese sections to check out their seasonal options and I almost always leave with a chunk of Unexpected Cheddar. They also have some great packs with multiple cured meats, great cracker options and some yummy spreads.
Since Trader Joe’s isn’t always easy to get to, some other places I like to go are my local Fry’s (Kroger) – quite a few of their locations now have a Murray’s cheese section that is packed with excellent cheeses and accompaniments. I also like to pop into the Safeway near my house to grab a few things there – they always have salami and a couple good semi-soft cheese options. There is also Whole Foods, they have a wonderful array of cheeses, but like most things at Whole Foods, you’ll spend a bit more than other places.
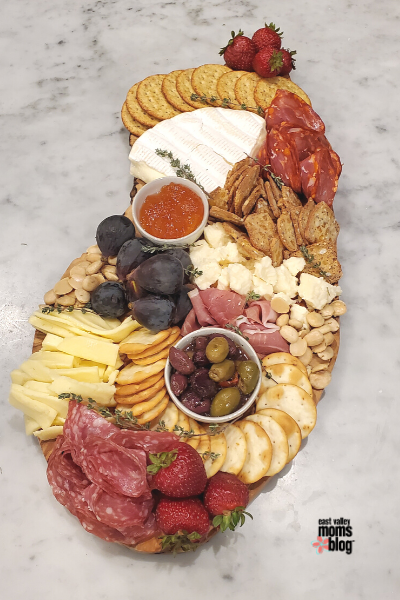
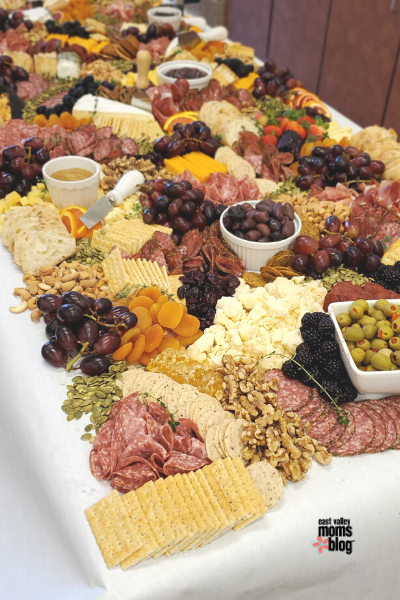
Assembly
Start by getting out everything you are going to use on the board (or that you think you might use). Place the cheeses on the board first, cutting/slicing the cheeses, if needed, and ensuring that none of the cheese are too close to one another. Next add a small bowl of preserves/spread/ dip, then take some crackers and fan some around the bowl. Then just start filling in crackers and meats next to each cheese, switching up textures and colors. I like the look of a full and packed board, so I place items directly next to each other and touching. Start to fill in the big gaps with the fruit (tip: grapes can be snipped off the vine in small bunches) or any additional meat or crackers to make it look balanced. At this point the board should be pretty full, so just fill in the small gaps with nuts and/or dried fruit. Then, if using, add in a few little pieces of herbs to garnish.
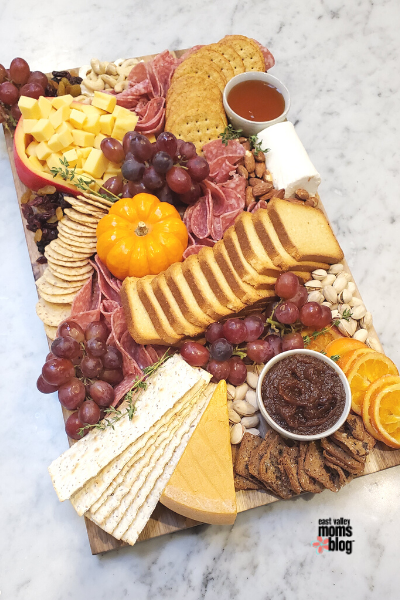
The biggest thing to remember is that it doesn’t need to be perfect – when it’s a little messy and uneven it adds texture and visual interest. Don’t overthink it; place the items on and keep filling it up. Pinterest and Instagram are filled with beautiful cheese boards, so do a quick scroll before you begin to get inspired.
It’s easy to see there is no right or wrong way to build a cheese board! I share lots of my boards over on my Instagram account (along with some fun hyperlapse videos of me building them) so check those out as well! Happy cheese board building!


 about how to create gorgeous, seasonal and crowd pleasing cheese boards with minimal effort.)